Are you tired of battling the dreaded black bars and awkward cropping in your screen recordings? As a tech creator, nothing kills your editing workflow faster than windows that don’t match your video frame. But what if you could snap any Mac app window to the exact dimensions you need, every single time, with just one click?
Good news: you can. Here’s how to automate window sizing on macOS using Script Editor, complete with easy code snippets for every major app.
If you're more of a visual learner, I recommend checking out my YouTube tutorial. It covers everything step-by-step:
Why Automate Window Sizing?
- Consistency: Every recording matches your editor’s aspect ratio.
- Speed: Skip the manual resizing and get to the good stuff.
- Polish: No more distracting black bars—just clean, pro-looking content.
- Flexibility: Instantly switch between presets for YouTube, social, and more.
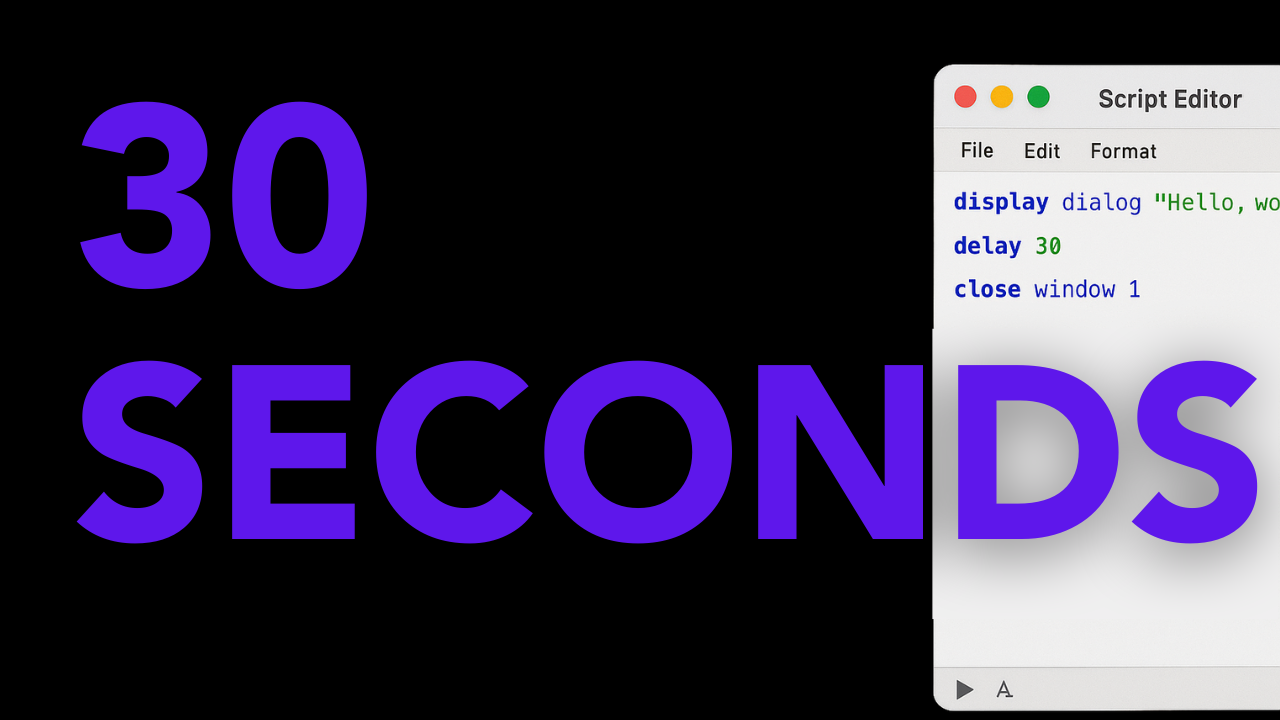
Step 1: Open Script Editor
- Press
Command + Spaceto open Spotlight. - Type
Script Editorand press Enter.
Step 2: The Magic Script
In Script Editor’s top pane, paste this script. It’s set up for Terminal and gives a true 1600x900 window, accounting for a 50px offset at the top (so you actually use a height of 950):
tell application "Safari"
    set bounds of front window to {0, 50, 1600, 950}
end tell
How It Works:
tell application "Safari"— Targets Safari (change this for another app).set bounds of front window— Affects the frontmost window only.{0, 50, 1600, 950}— Coordinates in{left, top, right, bottom}format.- 0: Distance from left edge of screen
- 50: Distance from top (keeps clear of the menu bar)
- 1600: Where the right edge lands (for 1600 px width)
- 950: Where the bottom edge lands (for 900 px height, since top is offset 50 px).
Step 3: Test Your Script
- Make sure your target app is open (e.g., Safari).
- Click the Compile button (hammer icon).
- If there are no errors, hit Run (play icon).
Your window should instantly snap to 1600x900—perfect lightweight 16:9 ratio version!
Note: Perfect HD dimensions are 1920x1080, but I like to use the lightweight version of 1600x900 which will result in a smaller size but has worked well for me.
Step 4: Save as a Double-Clickable App
- Press
Command + S. - Name: Something clear like
Safari_Resize. - File Format: Change from "Script" to Application.
- Save it to your Desktop or Applications folder.
Now, whenever you double-click this app, Safari will resize itself, no dragging required.
Step 5: Automate Any Mac App
Just change the app name in the code. Here are ready-to-go snippets for common creator apps:
Terminal (Coding Tutorials):
tell application "Terminal"
    set bounds of front window to {0, 50, 1600, 950}
end tell
Finder:
tell application "Finder"
    set bounds of front window to {0, 50, 1600, 950}
end tell
For Apps That Aren’t Directly Scriptable (like Zoom):
tell application "System Events"
    tell process "Zoom"
        set position of front window to {0, 50}
        set size of front window to {1600, 900}
    end tell
end tell
Step 6: Create Presets for Different Platforms
YouTube/Desktop (Full HD 1920x1080, for reference):
tell application "Google Chrome"
    set bounds of front window to {0, 50, 1920, 1130}
end tell
Notice: 1080 + 50 offset = 1130 for true 1080px height
Square Video for Socials (1280x1280):
tell application "Google Chrome"
    set bounds of front window to {200, 50, 1480, 1330}
end tell
Notice: 1280 width and 1280 height; height = 1330 because of the offset
Ultrawide/Cinematic (2560x1080):
tell application "Google Chrome"
    set bounds of front window to {0, 50, 2560, 1130}
end tell
Notice: Height is always bottom edge minus top offset = 1080
Step 7: Level Up – Pro Tips
- Keep scripts organized: Create a "Recording Scripts" folder in Applications.
- Descriptive Names: “Chrome_Square_Social” beats “resize.scpt”.
- Set up Hotkeys: Third-party apps like Alfred or Keyboard Maestro can trigger scripts instantly.
- Batch Process: Resize multiple apps at once:
    tell application "Google Chrome"
        set bounds of front window to {0, 50, 1920, 1130}
    end tell

    tell application "Terminal"
        set bounds of front window to {1920, 50,1920, 1130}
    end tell

    tell application "Finder"
        set bounds of front window to {0, 50,1920, 1130}
    end tell
Troubleshooting
- Script won’t run? Double-check app name and spelling.
- Window doesn’t resize? The app may have minimum or maximum window size limits.
- Permission errors? Go to System Preferences > Security & Privacy > Privacy > Accessibility and grant access to Script Editor.
- Wrong coordinates? The correct order is
{left, top, right, bottom}—not{left, top, width, height}.
Take Control of Your Recording Workflow
Automating window sizes lets you focus on what really matters: creating awesome tech tutorials and content. Set up these scripts once, and your Mac will be recording-ready for YouTube, social, or anything else—instantly.
What apps are you automating first? Let me know below, and happy recording!